

We’re letting you know that this post contains sponsored links which Your Savvy Purse receives compensation for, which may impact their order of appearance.
You spot it at a yard sale, or maybe it’s already sitting in your own guest room — a solid wood dresser or nightstand with good bones, but a finish that’s scratched, dated, or just not “you” anymore. The instinct is to walk past it, or worse, to replace the piece you already own with something new. But some sandpaper, a can of paint, and an afternoon can turn a tired piece of furniture into something that looks like it came from a boutique, for a fraction of what a new piece would cost.
You don’t need woodworking experience or a garage full of tools to pull this off. Most furniture makeovers come down to a handful of simple techniques, done in the right order. Whether it’s a hand-me-down dresser, a secondhand find, or something that’s simply lost its shine after years of daily use, the same basic process works again and again. Here’s how to give an old piece new life without a big budget or a steep learning curve.
Start With a Deep Clean Before You Judge the Piece
Grime, dust, and years of furniture polish can make a piece look far worse than it actually is. Before deciding whether something is worth saving, it deserves a proper cleaning — you might find that what looked hopeless is actually in great shape underneath.
Do this: Wipe the entire piece down with a mix of warm water and mild dish soap, then dry it completely. For wood with a waxy buildup, a bit of mineral spirits on a cloth can cut through years of grime and reveal the real condition of the finish underneath.
Sand Just Enough to Help New Finish Stick
You don’t need to strip a piece down to bare wood to give it a fresh look. Most paints and finishes just need a slightly roughed-up surface to grip onto — over-sanding wastes time and effort you don’t need to spend.
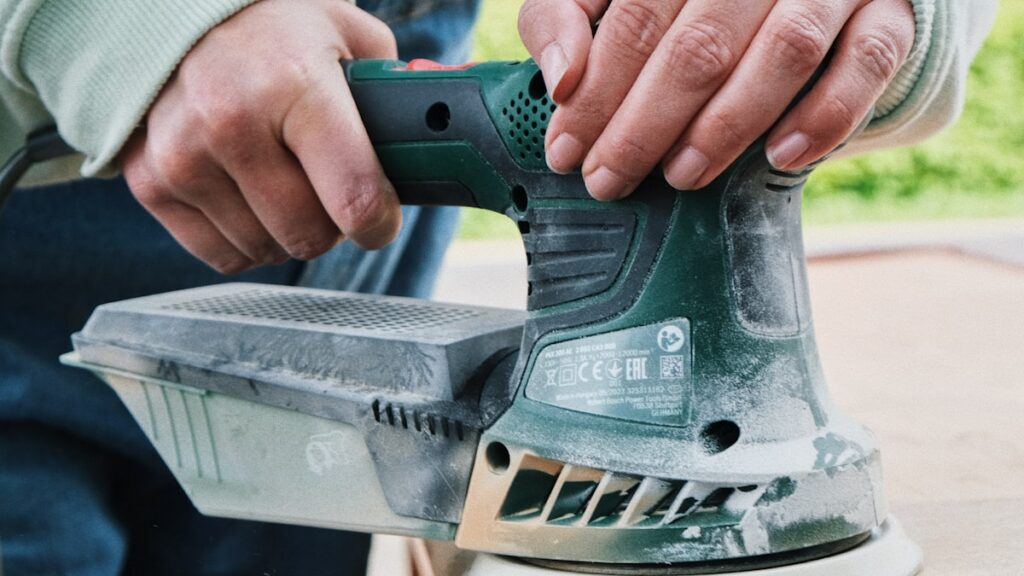
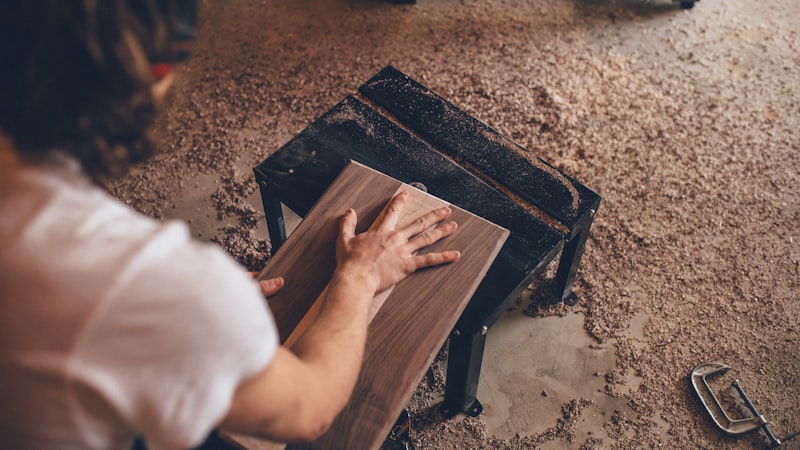
Try this: Use fine-grit sandpaper (around 220 grit) to scuff the entire surface until it loses its shine, rather than sanding down to raw wood. This step alone dramatically improves how well paint or stain adheres and how long the finished piece will last. A sanding block or an electric sander makes quick work of large flat surfaces, but a simple folded piece of sandpaper works just as well for smaller pieces and detail areas — you don’t need to buy special equipment to get a professional-feeling result.
Try a Coat of Paint for an Instant Transformation
Paint is one of the fastest, most affordable ways to completely change how a piece of furniture feels in a room. A dated wood tone or an outdated color can be transformed with a color that actually fits your space, for the cost of a single can of paint.
Do this: Choose a furniture-specific paint or a chalk-style paint, which typically needs less prep and fewer coats than regular wall paint. Two thin coats almost always look better and last longer than one thick one, so resist the urge to rush it.
Swap the Hardware for a Whole New Look
Sometimes the paint or finish isn’t even the problem — it’s the knobs and pulls. Dated hardware can make an otherwise great piece feel instantly outdated, and swapping it is one of the cheapest, fastest upgrades available.
Try this: Before buying an entirely new set of hardware, measure the existing hole spacing so whatever you choose lines up without extra drilling. Even budget hardware from a home improvement store can make a dramatic difference against a freshly painted surface. If you can’t find hardware that matches your existing hole spacing, a small dab of wood filler over the old holes lets you drill fresh ones wherever you’d like, opening up far more style options.
Reupholster or Recover Small Areas Yourself
You don’t need to be a professional upholsterer to freshen up a small seat cushion, drawer front, or headboard panel. Simple recovering projects are much more forgiving than they look, especially on smaller, flat areas.
Do this: For a simple seat cushion, remove the old fabric carefully to use as a template for cutting the new piece, then use a staple gun to attach it to the underside. Choosing a fabric with a busy pattern or texture also helps hide small imperfections in your first attempt.
Know When a Piece Is Worth Saving (and When It’s Not)
Not every piece of furniture is a good candidate for a DIY makeover, and knowing the difference can save you time and frustration. Solid wood furniture with sturdy joints is almost always worth the effort — pressed wood or particleboard with water damage or structural issues usually isn’t.
Try this: Give any piece a wobble test and check the joints before committing to a project. A little cosmetic wear is exactly what these techniques are meant to fix, but structural problems are a sign to look for a different piece to work on. Tapping along the surface can also reveal soft or damaged spots that aren’t obvious at a glance, which is worth doing before you invest time and materials into a piece.
Add Trim, Molding, or Decorative Details for a Custom Look
A flat, plain drawer front or cabinet door can look surprisingly upscale with the simple addition of decorative trim or molding, a technique often used to make basic furniture resemble much more expensive, detailed pieces. It’s a small addition that makes a noticeable difference in how “finished” a piece looks.
Do this: Pick up thin, flexible wood or foam trim pieces from a craft or hardware store, then use wood glue to attach a simple frame or pattern to a flat surface before painting. Once painted over in a single color, the trim blends seamlessly and gives the piece a custom, tailored look.
The Bottom Line
Giving old furniture new life isn’t about being especially crafty — it’s about knowing a few simple techniques and being willing to put in an afternoon of effort. A thorough cleaning, a light sanding, a fresh coat of paint, and a hardware swap can turn something you were ready to get rid of into a piece you’re proud to keep. None of these techniques require special training, and most can be done with tools and materials you either already have or can pick up cheaply at a hardware store. The next time you’re tempted to replace a worn piece of furniture, take a closer look first — the transformation might be a lot closer than a trip to the store, and a lot more satisfying than simply buying something new.