We’re letting you know that this post contains sponsored links which Your Savvy Purse receives compensation for, which may impact their order of appearance.
As winter rolls in and the air becomes drier, many of us rely on humidifiers to maintain a comfortable level of moisture in our homes. They help keep our skin hydrated, prevent static electricity, and even ease symptoms of dry throats and sinuses. However, if not properly maintained, humidifiers can become breeding grounds for mold, bacteria, and mineral buildup, which could lead to poor air quality and even health issues.
If you want your humidifier running efficiently and your indoor air as fresh as possible, cleaning it regularly is essential. Luckily, it’s not difficult! Follow these simple steps to ensure your humidifier stays in tip-top shape throughout the winter.
Why Clean Your Humidifier?
Before diving into the cleaning process, let’s discuss why it’s so important to clean your humidifier:
- Prevent Mold and Bacteria: If water sits stagnant in your humidifier for too long, it can develop mold or bacteria. This means you could end up inhaling these contaminants every time you turn on your humidifier, potentially leading to respiratory problems.
- Reduce Mineral Buildup: If you live in an area with hard water, minerals like calcium can build up in your humidifier. This can reduce its effectiveness and even cause the device to break down over time.
- Improved Air Quality: Regular cleaning ensures that the mist released into the air is clean and free of impurities, improving the quality of air in your home.
How Often Should You Clean Your Humidifier?
You should clean your humidifier at least once a week if you’re using it regularly. If it’s a cool-mist humidifier, you might need to clean it more frequently, as the water can evaporate more quickly, leaving behind mineral deposits. For those with hard water, consider cleaning your humidifier every 3-4 days to avoid mineral buildup.
What You’ll Need:
- White vinegar (a natural disinfectant)
- Hydrogen peroxide (optional, for extra sanitization)
- A soft brush or sponge
- Dish soap
- Clean water (distilled or filtered is best)
- Towels or paper towels
Step-by-Step Guide to Cleaning Your Humidifier
1. Turn Off and Unplug the Humidifier
Safety first! Always unplug your humidifier before cleaning it. Remove the water tank and any other detachable parts.
2. Empty the Water Tank
Pour out any leftover water from the tank. Stagnant water is a breeding ground for bacteria and mold, so always dump out whatever’s in the tank at the end of the day, even if you don’t plan on cleaning it just yet.
3. Clean the Tank with Vinegar
Fill the tank with about 1 cup of white vinegar and 1 cup of water. Swirl it around to ensure the vinegar reaches all the inner surfaces. Let it sit for about 30 minutes to help break down any mineral buildup or mold.
For stubborn mineral deposits, you can use a soft brush or sponge to gently scrub the inside of the tank.
4. Clean the Base and Tray
Most humidifiers have a base or tray that can accumulate dust or mold. Using a damp cloth soaked in vinegar, wipe down the base of the unit, where water may have splashed. Be sure to clean any nooks and crannies, paying close attention to the area around the filter (if your model has one).
5. Sanitize with Hydrogen Peroxide (Optional)
If you want to give your humidifier an extra disinfecting boost, fill the water tank with a hydrogen peroxide solution (1 part hydrogen peroxide to 3 parts water) and let it sit for another 20-30 minutes. This step helps kill off any remaining bacteria or mold.
6. Rinse Thoroughly
Once you’ve allowed the vinegar or hydrogen peroxide to work its magic, empty the tank and rinse it with clean water until no more vinegar smell remains. It’s important to make sure all cleaning agents are thoroughly rinsed out, so you’re not inhaling anything harmful when you turn your humidifier back on.
7. Wipe Down the Exterior
Use a damp cloth with a bit of dish soap to wipe down the outside of the unit. If there’s any grime or dust on the humidifier’s exterior, this will help clean it off without leaving streaks.
8. Dry Everything Completely
Use a towel or paper towels to dry off all parts, including the tank, base, and filter (if applicable). Let the unit air dry for about 30 minutes before reassembling.
9. Replace the Filter (If Necessary)
Some humidifiers have filters that need to be replaced every 1-3 months, depending on the model and how often you use it. If your filter is looking dirty or clogged, it’s time to swap it out for a fresh one. A clean filter ensures that your humidifier is working efficiently and isn’t spreading impurities into the air.
10. Reassemble and Refill
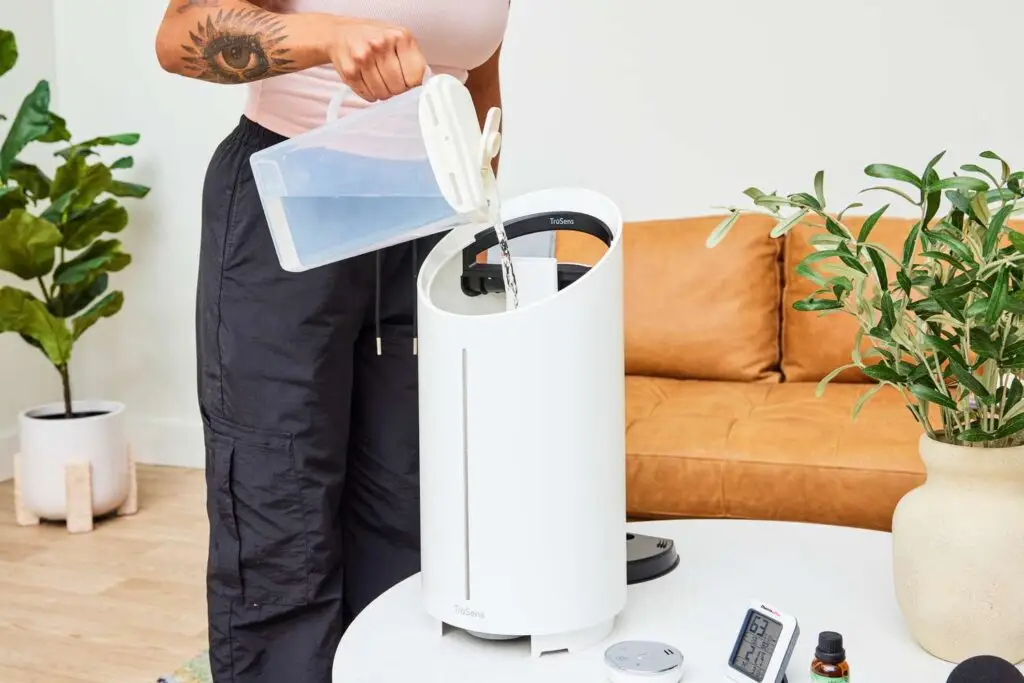
Once everything is dry, reassemble your humidifier, fill it with clean, filtered or distilled water, and it’s ready to go!
Extra Tips to Keep Your Humidifier Fresh:
- Use Distilled Water: If you live in an area with hard water, always use distilled or filtered water in your humidifier. It’s free from minerals that can build up inside the unit and clog it over time.
- Leave the Lid Off Between Uses: After you turn off your humidifier, leave the lid off to allow the interior to dry completely. This helps prevent mold growth and keeps it fresh for the next use.
- Store Properly: If you don’t plan to use your humidifier for a while, store it in a dry place with all water emptied out. Give it a quick cleaning before you use it again to keep everything in optimal condition.
Conclusion
Taking the time to clean your humidifier regularly can greatly improve its efficiency, extend its lifespan, and most importantly, ensure the air you’re breathing stays fresh and healthy. By following this simple cleaning routine, you’ll enjoy the benefits of your humidifier without the worry of mold, bacteria, or mineral buildup. Plus, your skin and sinuses will thank you for the extra moisture during those dry winter months!
Happy cleaning, and here’s to better air quality all season long!