

We’re letting you know that this post contains sponsored links which Your Savvy Purse receives compensation for, which may impact their order of appearance.
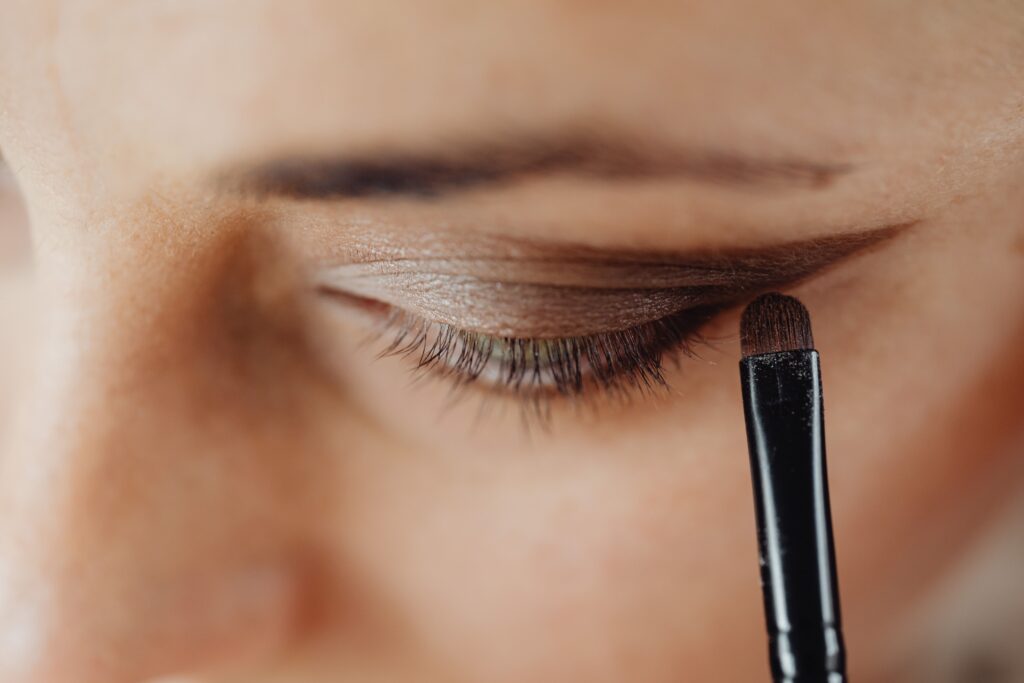
Eye makeup tends to intimidate people more than almost any other part of a makeup routine, and it’s easy to see why. Blending, layering, and the small, precise movements required for lining and lashes can feel like a completely different skill set from applying foundation or blush. But once you understand the basic structure — prep, base, definition, liner, lashes — the process becomes much more approachable, even if you’re working with minimal tools or experience.
Here’s a complete, practical walkthrough for applying eye makeup, along with troubleshooting tips for the parts that tend to trip people up most.
Step 1: Start With a Clean, Primed Lid
Skipping primer is one of the most common reasons eyeshadow fades, creases, or looks patchy by midday. Applying a small amount of eyeshadow primer across the lid, using a fingertip or brush, creates a smooth base that helps color adhere evenly and last significantly longer. If you don’t have a dedicated eye primer, a thin layer of concealer set with translucent powder can serve a similar function in a pinch.
Step 2: Choose Your Eyeshadow Placement Strategy
Before picking up a brush, it helps to have a mental map of where colors typically go:
- Lid color: the main shade applied directly onto the eyelid, from the lash line up to the crease
- Crease color: a slightly deeper shade used to add dimension and definition in the natural crease of the eye
- Transition shade: a soft, blendable color used just above the crease to smooth the transition between the crease shade and the brow area
- Highlight: a light, often shimmery shade applied to the brow bone and inner corner to brighten and open up the eyes
Understanding these zones makes it much easier to follow any eyeshadow look, since most techniques are really just variations on how these areas are blended together.
Step 3: Apply the Transition Shade First
Using a fluffy blending brush, sweep a soft, matte transition shade just above the crease and up toward the brow bone, using light, back-and-forth motions. This step creates a soft, blended base of color that makes every subsequent step easier, since you’re building on top of an already-blended foundation rather than trying to blend multiple new colors into bare skin.
Step 4: Deepen the Crease
Using a smaller, denser brush, apply a slightly deeper shade directly into the crease, focusing the color in a “V” shape toward the outer corner. Blend using a windshield-wiper motion, moving the brush back and forth along the crease, gradually softening the edges upward into the transition shade already applied. This step is what gives eye makeup its sense of depth and dimension, rather than looking flat.
Step 5: Apply Your Lid Color
With the crease established, apply your main lid shade using a flat, packing brush, pressing the color onto the lid rather than swiping, which helps achieve more vibrant, even payoff. If you’re using a shimmer or metallic shade, applying a thin layer of primer or even a touch of setting spray on the brush beforehand can help the shimmer adhere more intensely.
Step 6: Blend Where the Colors Meet
Using a clean blending brush, gently soften any harsh lines where the lid color meets the crease color. This step should be done with a light touch, using small circular motions rather than aggressive back-and-forth sweeps, which can disturb the color underneath and create a muddy result instead of a smooth gradient.
Step 7: Highlight the Inner Corner and Brow Bone
A small amount of light, shimmery shadow applied to the inner corner of the eye and along the brow bone adds brightness and makes the whole eye look more awake and lifted. This step is optional but makes a noticeable difference, especially for tired-looking or hooded eyes.
Step 8: Apply Eyeliner
Eyeliner is often where beginners struggle most, largely because of shaky hands and an unclear sense of where the line should actually go. A few tips that make this step easier:
Rest your elbow on a table or flat surface rather than holding your arm unsupported, which reduces shakiness significantly.
Do small, connected dashes rather than one continuous line, especially if you’re newer to lining. Small dashes along the lash line, connected afterward, are far more forgiving than trying to draw one perfect sweeping line in a single motion.
Look straight ahead into a mirror, not down, since tilting your head back and looking down at a handheld mirror distorts the natural shape of your eye and often leads to a line that looks uneven once you look forward again.
Start thin and build up, since it’s much easier to add more line than to fix a line that’s too thick from the start.
Step 9: Apply Mascara (or False Lashes)
Before applying mascara, wiggle the wand at the base of your lashes, then sweep upward and slightly outward to coat the length evenly. Applying two thin coats, letting the first dry slightly before the second, tends to build more length and volume than one thick coat, which can clump.
If you’re using false lashes, apply a thin layer of lash glue along the band, let it become slightly tacky for about 30 seconds, then place the lash as close to your natural lash line as possible, starting from the center and pressing outward toward both corners.
Step 10: Clean Up Any Fallout
Eyeshadow fallout — loose powder that settles under the eyes during application — is extremely common, especially with shimmer shades. Doing your eye makeup before foundation and concealer, or placing a small piece of tissue or a fallout shield under the eye during application, makes cleanup significantly easier, since you can simply brush away fallout without disturbing your base makeup underneath.
Troubleshooting Common Eye Makeup Problems
Eyeshadow creasing by midday: Usually caused by skipping primer, or by using too much moisturizer or oil-based product on the lid beforehand. A thin, even layer of primer and a light dusting of translucent powder can help.
Eyeliner looking uneven on both eyes: This is extremely common, even among professionals, simply because most people aren’t ambidextrous and one hand naturally has more control than the other. Doing small dashes and building slowly, rather than trying to match a perfect line in one motion, helps even out the final result.
Shadow looking muddy instead of blended: Usually a sign of over-blending with too much product on the brush, or blending too aggressively rather than with a light touch. Using a clean brush for final blending, rather than continuing to add pigment, often solves this.
Mascara clumping: Often caused by applying too many coats without letting each one dry, or using an old, dried-out mascara. Replacing mascara every three months, since it dries out and can harbor bacteria over time, helps maintain a smoother application.
Building Your Own Signature Routine
Once these fundamentals feel comfortable, most eye makeup looks are really just variations on the same structure: transition, crease, lid color, highlight, liner, lashes. A soft “no-makeup makeup” look uses this same sequence with neutral, barely-there shades, while a dramatic smoky eye uses the exact same steps with deeper, more heavily blended colors. Understanding the underlying framework, rather than memorizing individual looks, makes it much easier to adapt to new colors, trends, and personal style over time.
The Bottom Line
Eye makeup can feel intimidating, but it’s really a sequence of a handful of repeatable steps: prime, establish the crease, apply lid color, blend, highlight, line, and finish with lashes. Each step builds on the one before it, which is why starting with a clean, well-blended base makes every subsequent step easier. With a little practice, the process becomes far more intuitive than it initially seems, and the same basic structure can be adapted into virtually any eye makeup look you want to try.