We’re letting you know that this post contains sponsored links which Your Savvy Purse receives compensation for, which may impact their order of appearance.
Halloween is almost here, and you know what that means—time to spookify your home! But if you’re like me, the price of festive decor can make your wallet scream louder than any haunted house. Not to worry! Let’s get creative and make our own Halloween cardboard cutouts right at home. Not only will this be budget-friendly, but it’s also a fun project to get into the holiday spirit.

Why Cardboard Cutouts?
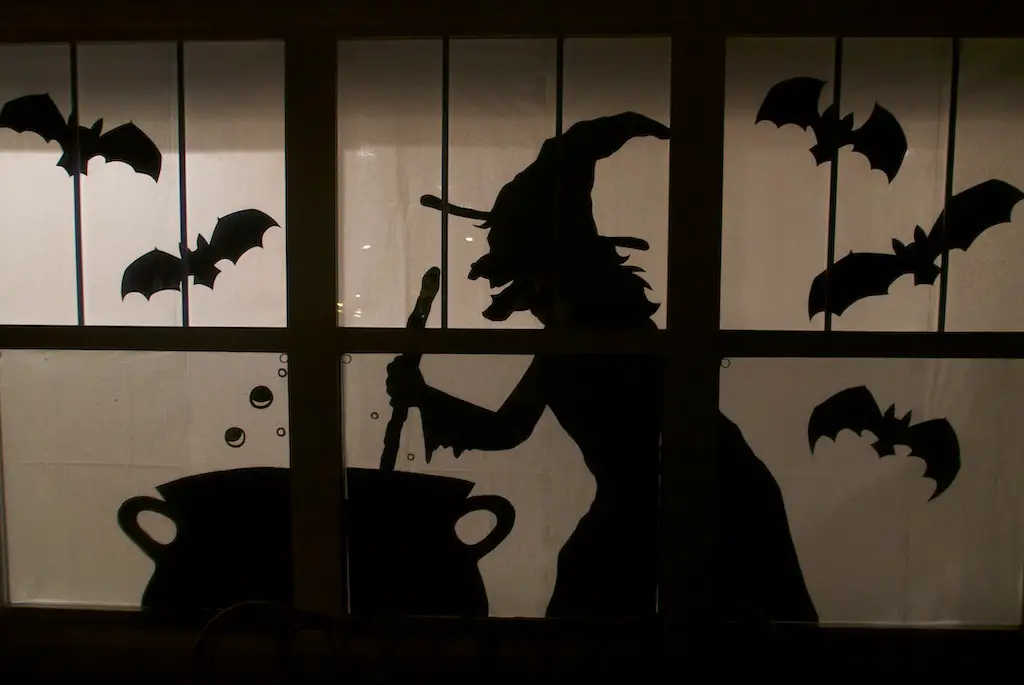
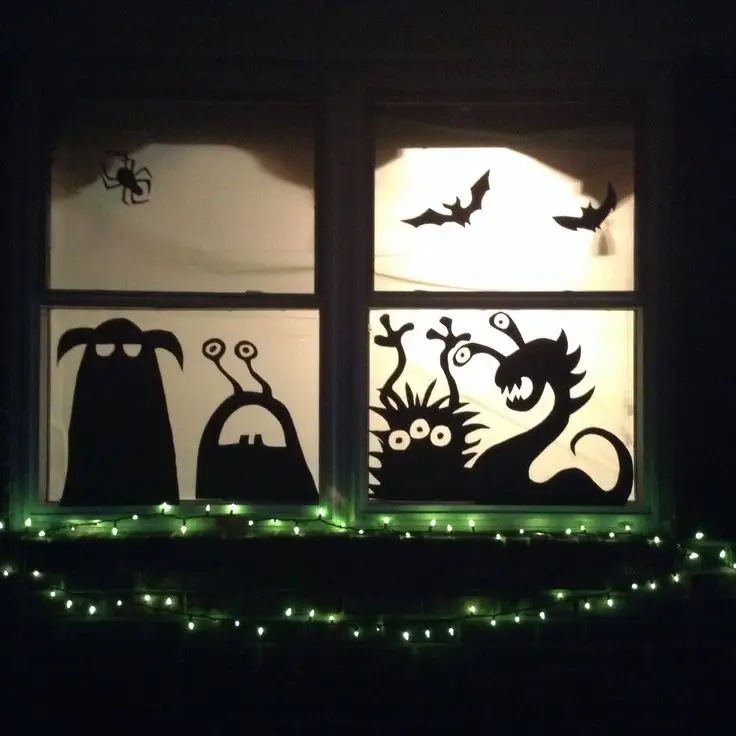
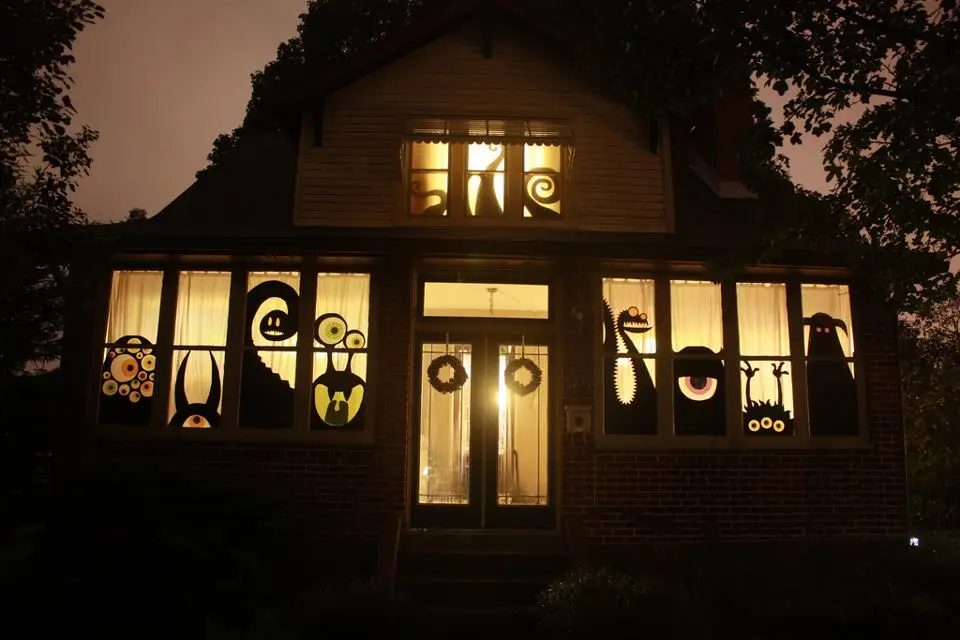
Cardboard cutouts are easy to make, lightweight, and no two are alike. Plus, they’re perfect for conjuring up some eerie silhouettes against the glow of your windows. With just a few materials, you can create a ghoulish gallery that will terrify (in a good way!) your trick-or-treaters and neighbors alike.
Gather Your Materials
Before we start crafting, let’s round up what you’ll need:
- Cardboard sheets (think old boxes)
- Cutting knife or scissors (scissors for the kiddos)
- Black marker or paint (for those shadowy details)
- Tape or glue (to keep things intact)
- String or suction cups (for hanging)
- Printable templates (optional but handy)

Step-by-Step Guide to Crafting Your Cutouts
1. Design Selection
First things first—choose what spooky designs you’ll bring to life. Ghosts, bats, witches, pumpkins, or even a grinning skeleton! For those not artistically inclined, free printable templates online can be a lifesaver.
2. Gathering Materials
Time to gather your crafting tools. Raid your recycling bin for cardboard. Who knew that last Amazon box would have a second life as a creepy ghoul?
3. Preparing Cardboard
Flatten your cardboard and cut it into manageable sizes. Think about where each cutout will go; measure your window space if needed.
4. Drawing and Cutting
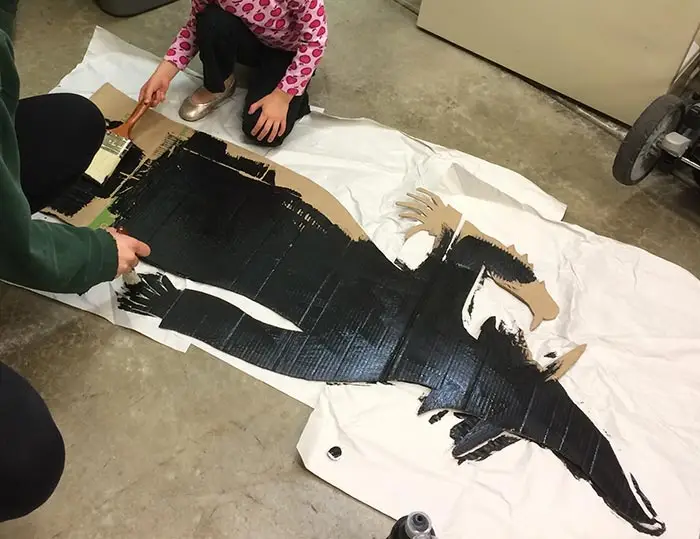
Lay out your design on the cardboard, tracing with a pencil first. Once you’re happy, go over it with a black marker. Carefully cut along the lines—watch those fingers!
5. Adding Details
This is where the magic happens. Use your black marker or paint to add eyes, mouths, and spooky details that will make your cutouts come to life.
6. Assembling Multi-piece Cutouts
Got a design in pieces? No problem! Use tape or glue to assemble them into a single masterpiece.
7. Hanging Options
Attach a string or suction cups to the back of each cutout for easy hanging. Voila! They’re ready to haunt your windows.
8. Placement
Arrange your cutouts on your windows, experimenting with different placements for maximum spookiness. Tip: Layer them to create depth.
9. Maintenance and Storage
After the holiday, ensure your cutouts are stored flat and dry so they’re ready for next year. A little touch-up with paint or markers will keep them looking sharp.

Budget Tips to Keep Costs Down
- Free Templates: Utilize the endless free resources online.
- Reuse and Recycle: Old cardboard boxes are your new best friends.
- Crafting Party: Team up with friends for a fun, collaborative project.
- Cost-Effective Supplies: Check out discount stores for crafting essentials.
- Keep It Simple: Choose designs that require minimal cutting and embellishment.
Halloween decor doesn’t have to drain your bank account. With creativity and a little elbow grease, you can have the spookiest house on the block without spending a fortune. Happy haunting, and don’t forget to share your creations with us! 🎃
Now that you’ve got the know-how, grab your supplies and get crafting! Tag us in your window displays—we can’t wait to see how you’ve turned cardboard into a Halloween masterpiece.


